cse15l-lab-reports
Working on ieng6 Server
Streamlining ssh Configuration
Log into the ieng6 server using an alias username and no password
Steps:
1) make sure ssh keys are set up refer to lab report 1 Remote Access Tutorial under setting SSH Keys section.
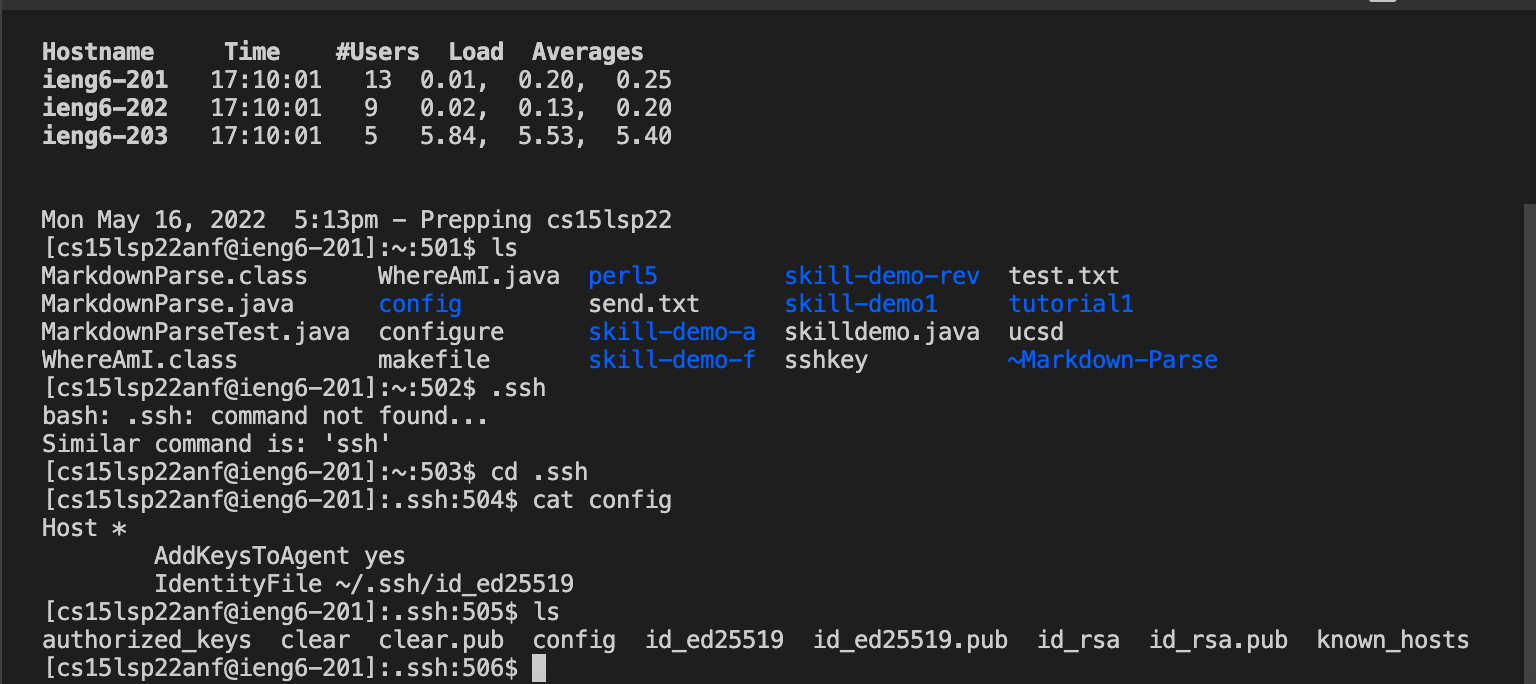
2) Log into the ieng6 server using ssh cs15lsp22zzz@ieng6.ucsd.edu then use cd .ssh to go to the correct directory where the ssk keys are stored and where the config file will be stored. Add a file config in the directory using touch config. The image below uses the command ls to confirm all files are present in the .ssh directory.
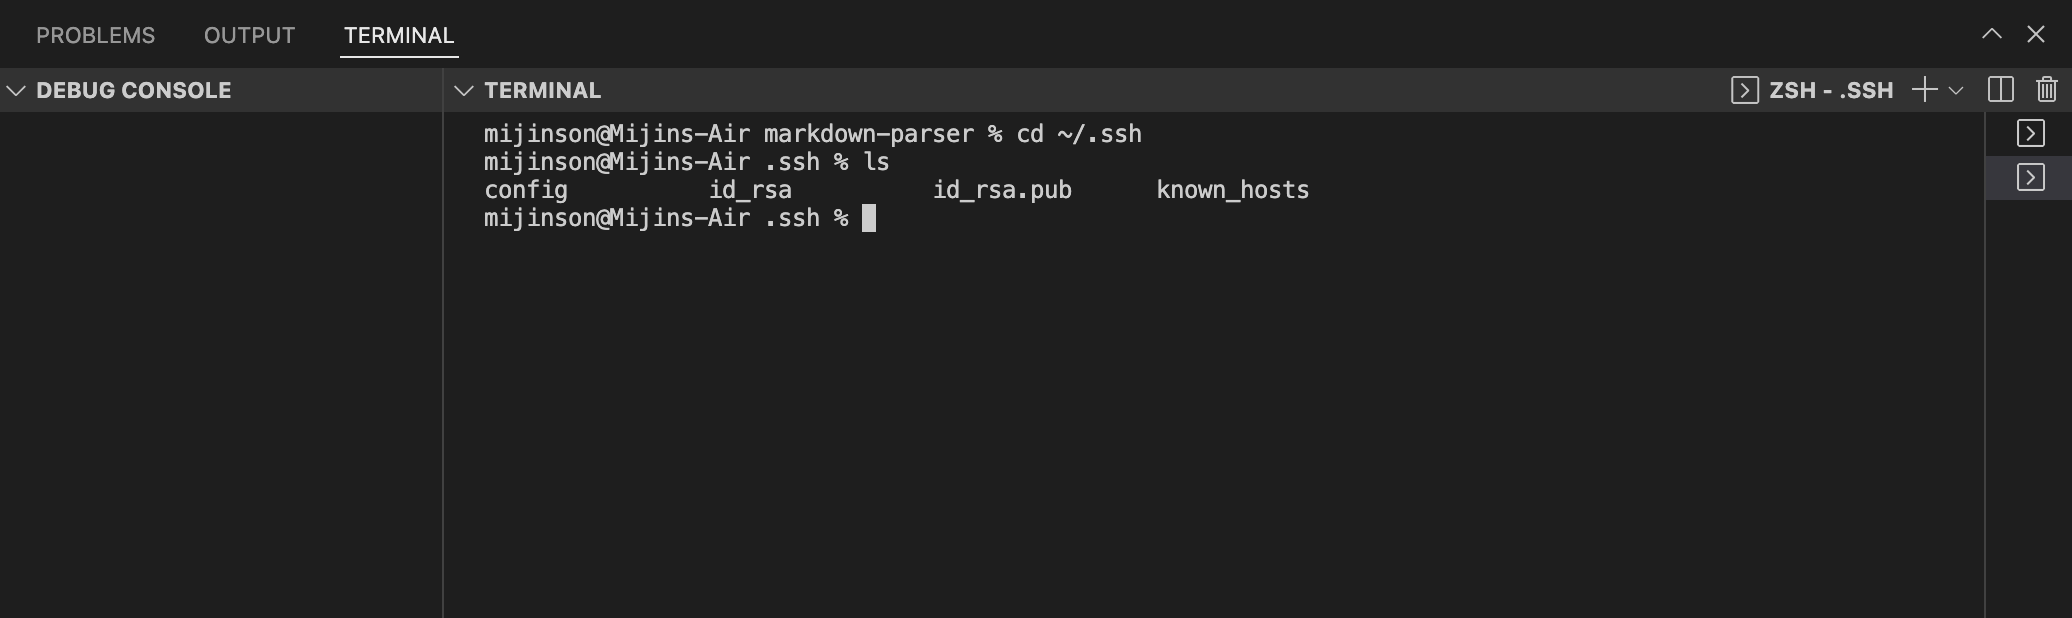
IMPORTANT NOTE: to find the files created in the .ssh make sure to look in the correct path locations. example: Users/username/.ssh/config.
3) In the config file add the following lines of code shown in image.
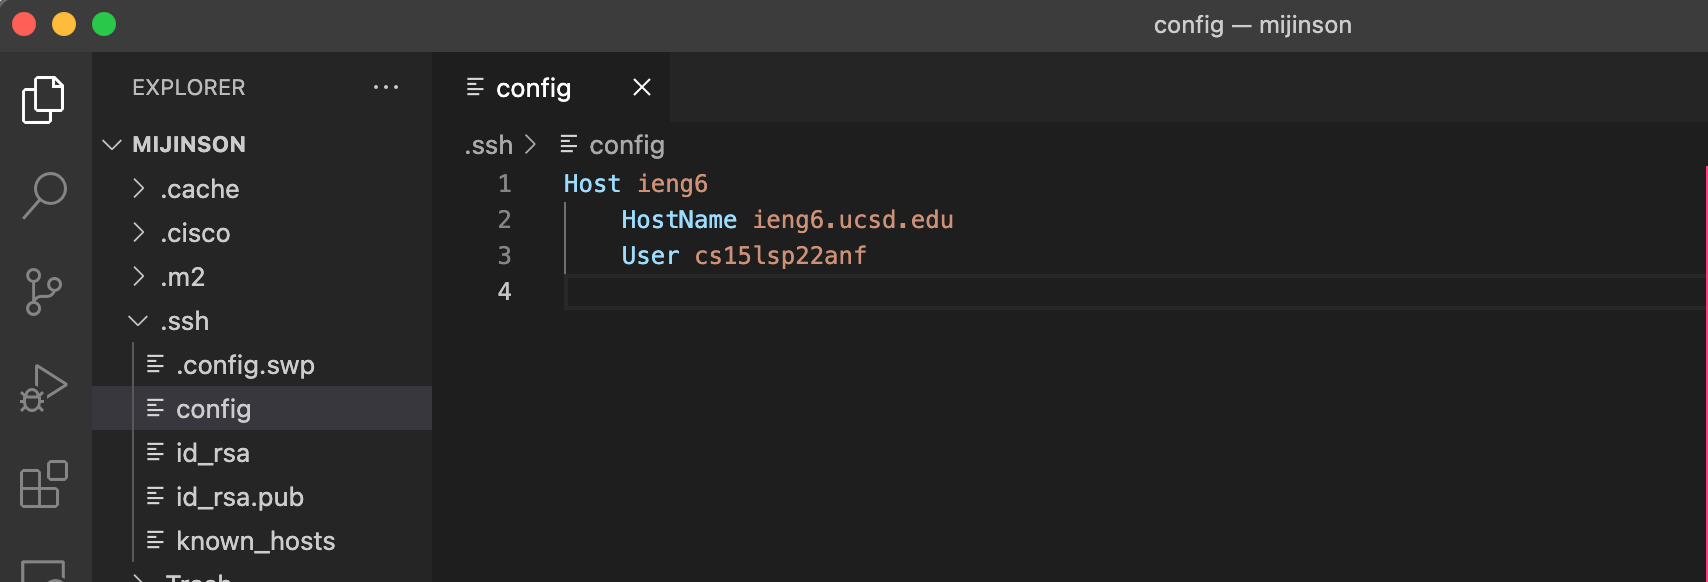
4) Next to Host the ieng6 can be replaced with any alias. For instance ucsd. Now type in terminal ssh alias alias is either ieng6 or can be changed to any name replaced after Host.
The scp command can now also work using the alias name instead of the long course specific username.
refer to image below
Setup Github Access from ieng6
Running git commands to commit changes and push changes to github on the ieng6 server
Preparation:
make sure repository to work with is cloned onto local machine.
log into the ieng6 server and cd .ssh then ls to check if keys exist already, if not generate a ssh key to use for github access using ssh-keygen -t ed25519 -C your_email@example.com
press enter to save key to default location
now add the ssh key to the ssh-agent using eval "$(ssh-agent -s) then ssh-add -K ~/.ssh/id_ed25519
now use git remote -v to check that the link to the repository is ssh link if not run the following git remote set-url origin <put ssh URL here> after going on to github.com and copying the ssh link to the repository.
Additonally, using cat >config add the following into the file:
Host *
    AddKeysToAgent yes
    UseKeychain yes
    IdentityFile ~/.ssh/id_ed25519
Here are screenshots of where the proper public and private keys are stored. both stored in .ssh directory. only contents of public key is shown.

 The private key is stored in id_ed25519
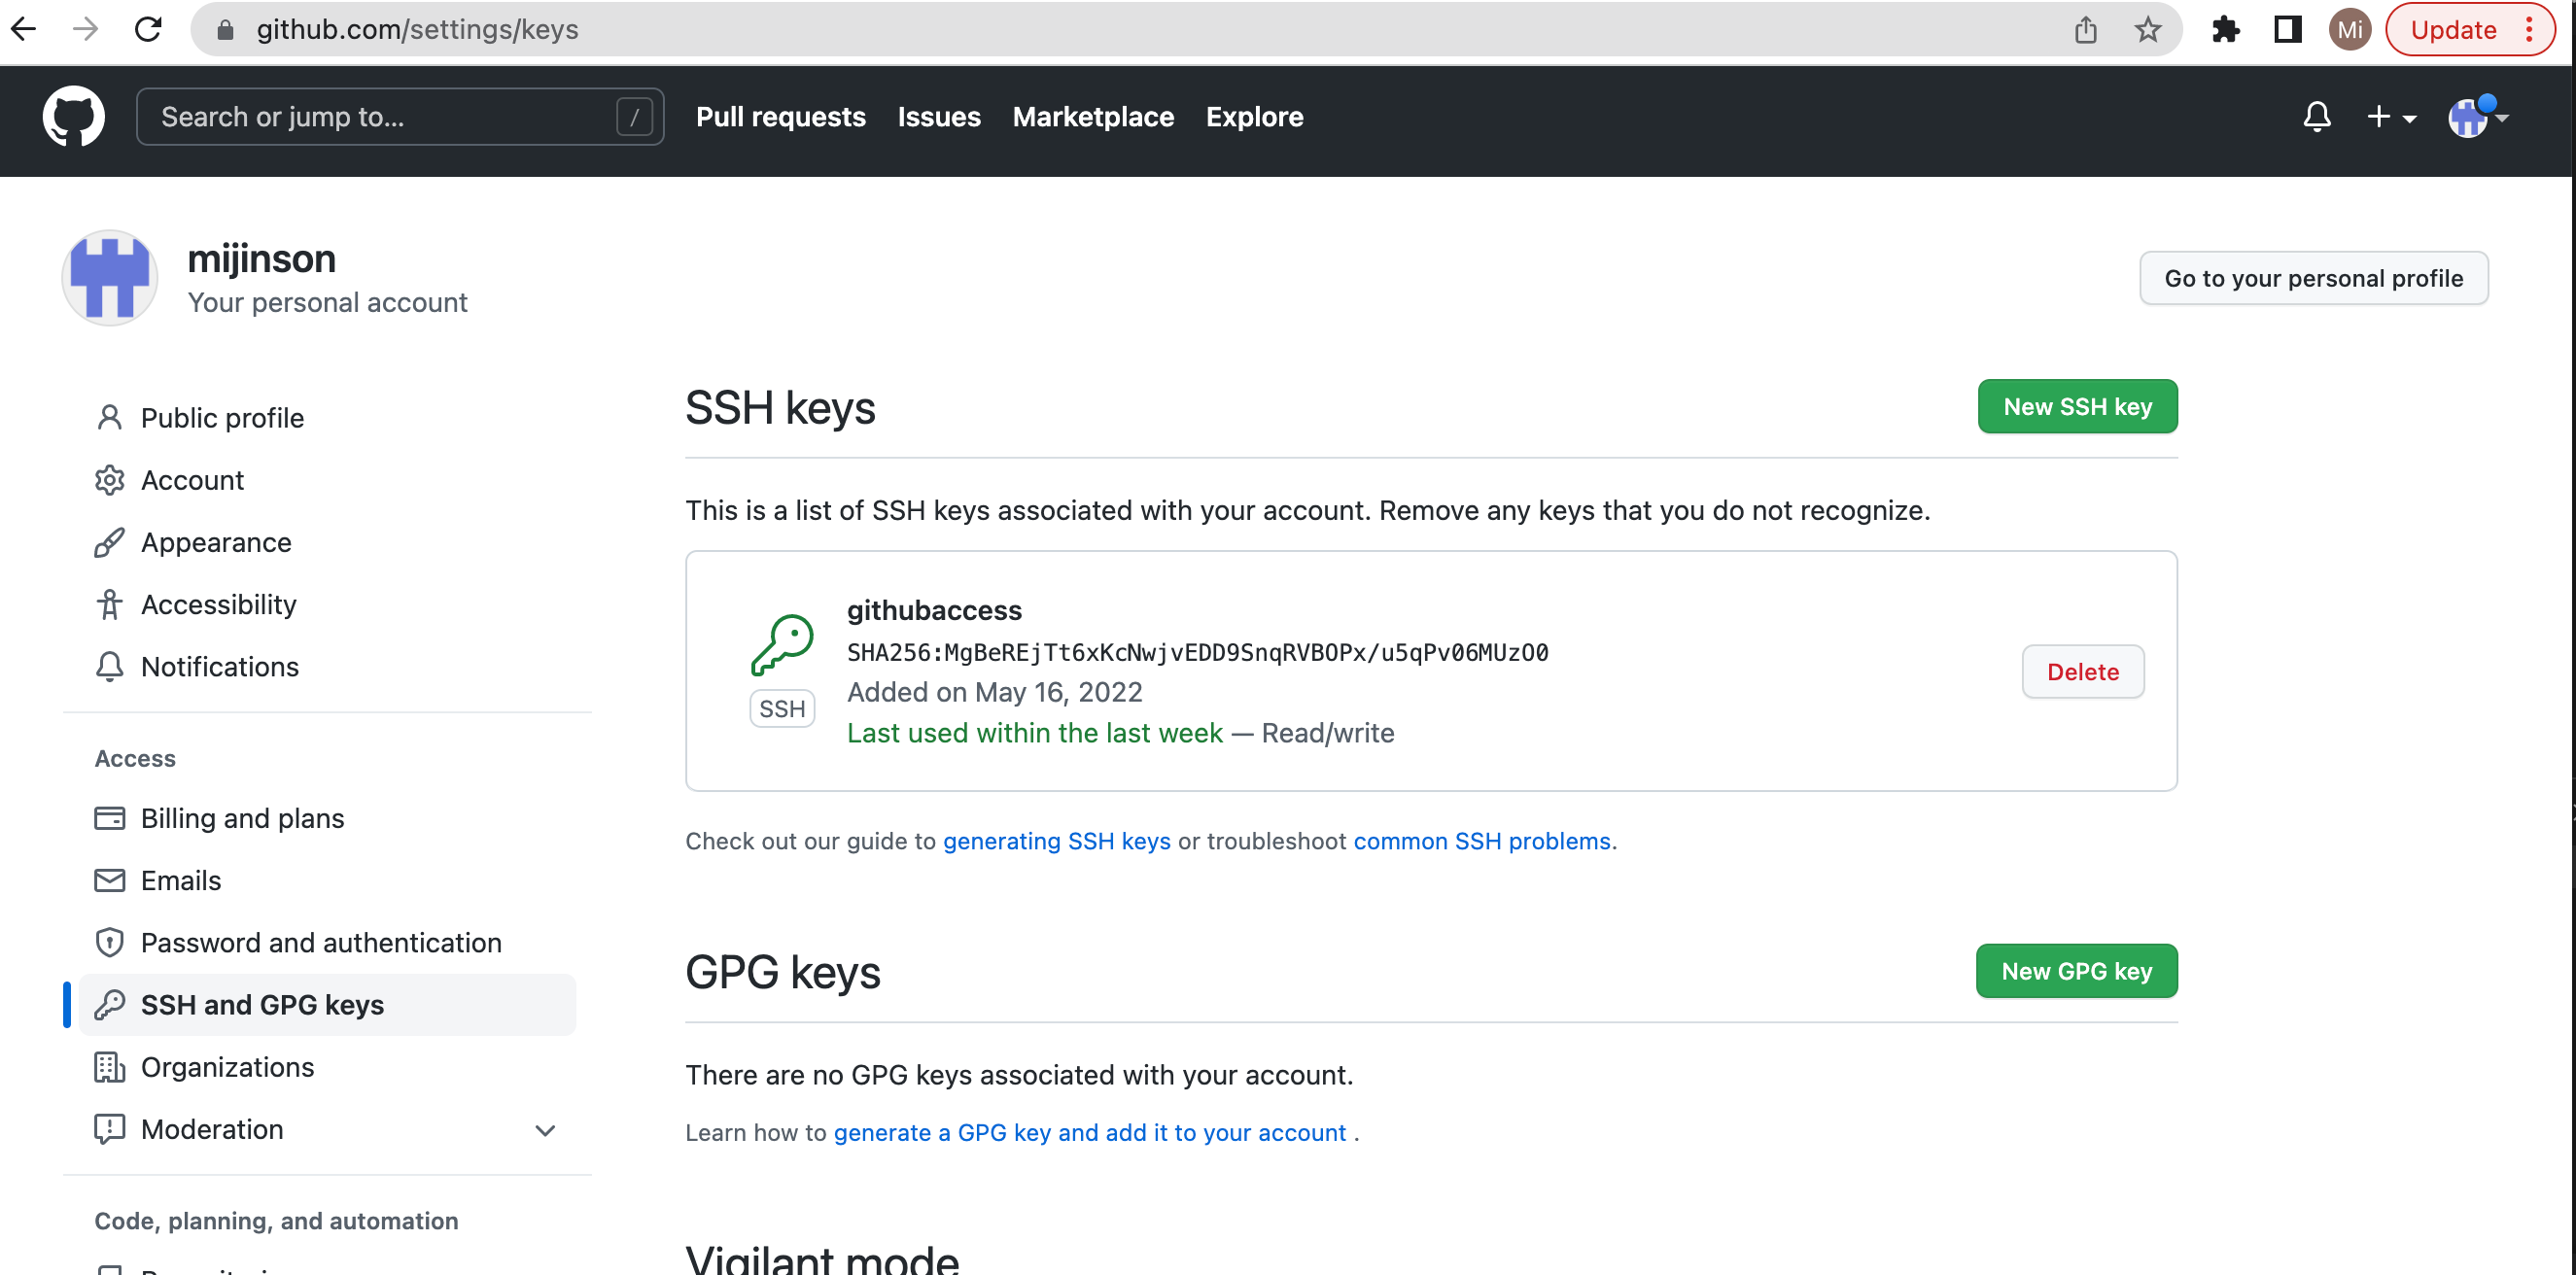
Now add the public key to github. go to profile, settings then access on the left side and click SSH and GPG keys to add a new ssh key. To access the key information use cat id_ed25519 which is the file where key is stored, and copy the content.
Once the key is added on github the page should look like the image below.
Running git commands:
NOTE: all of this is done logged on the ieng6 server
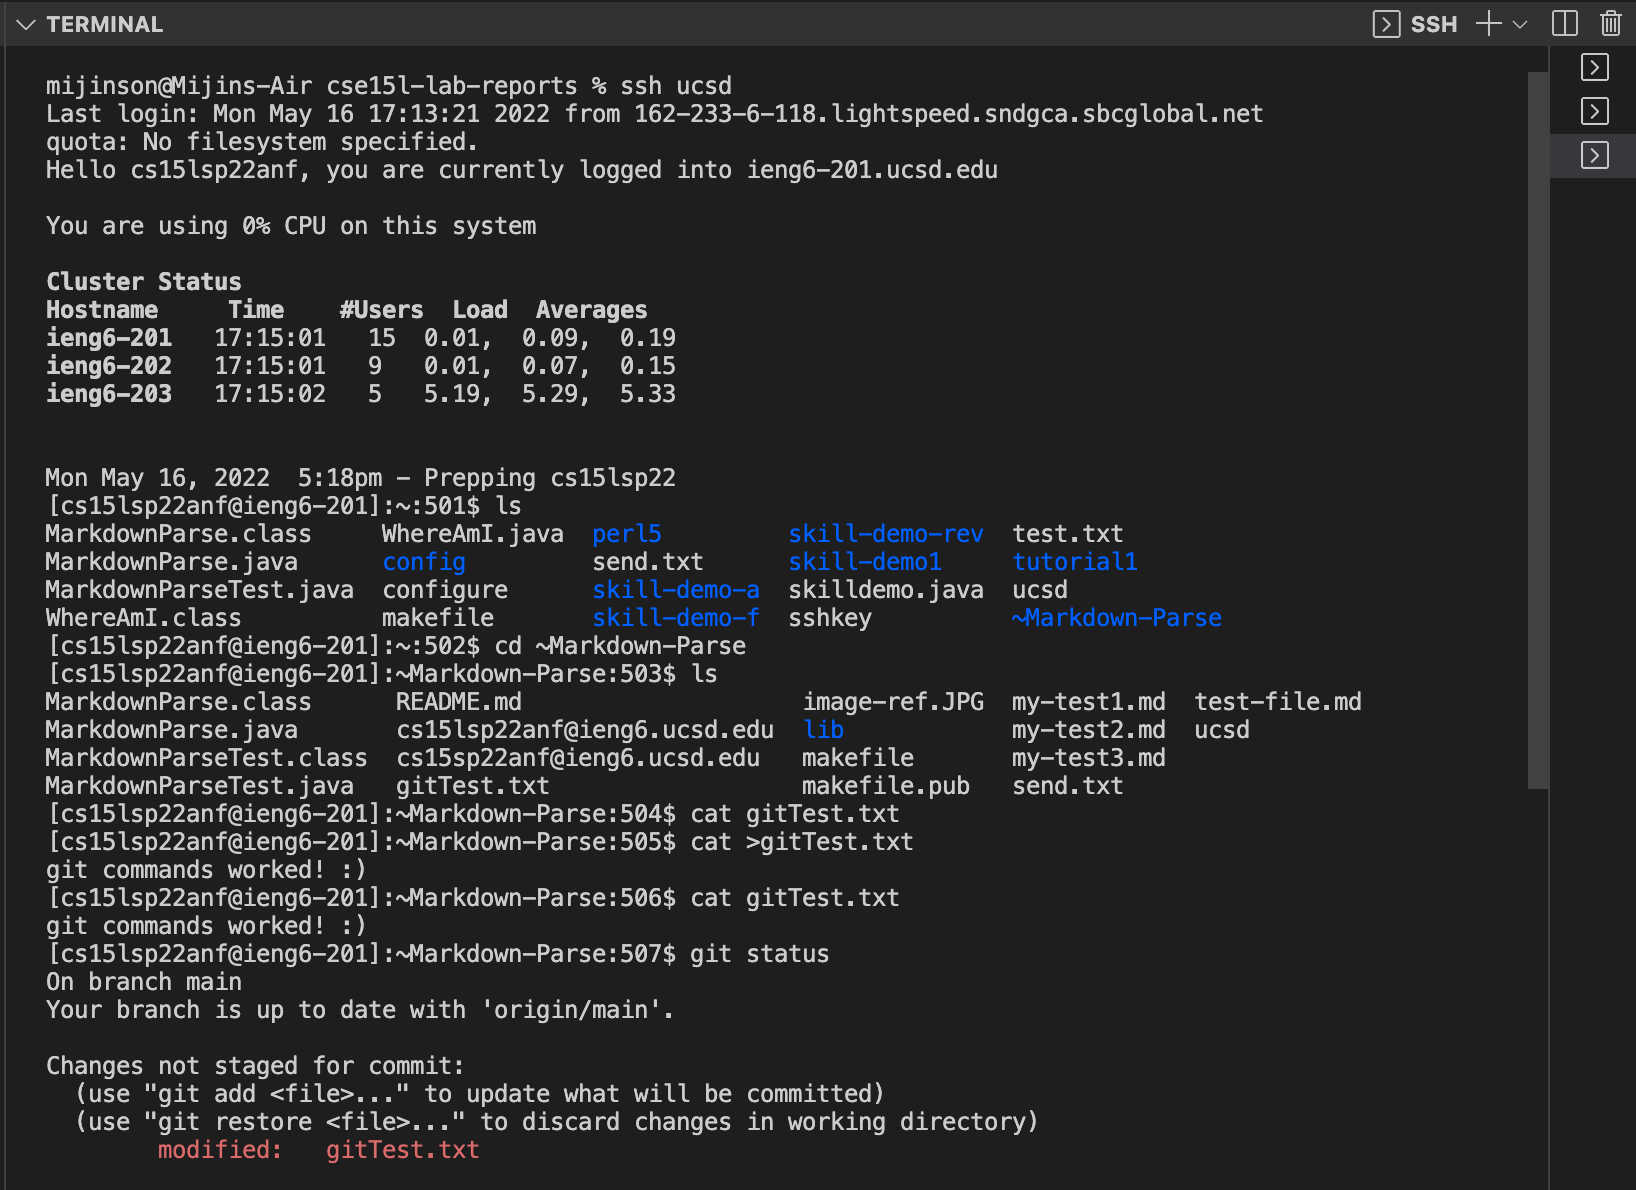
1) cd into the repository i.e. ~Markdown-Parse
2) Pick a file to edit i.e. gitTest.txt. file is initally empty
3) To add content into the file use cat >gitTest.txt. This should allow for space to type content in. when finished use control D
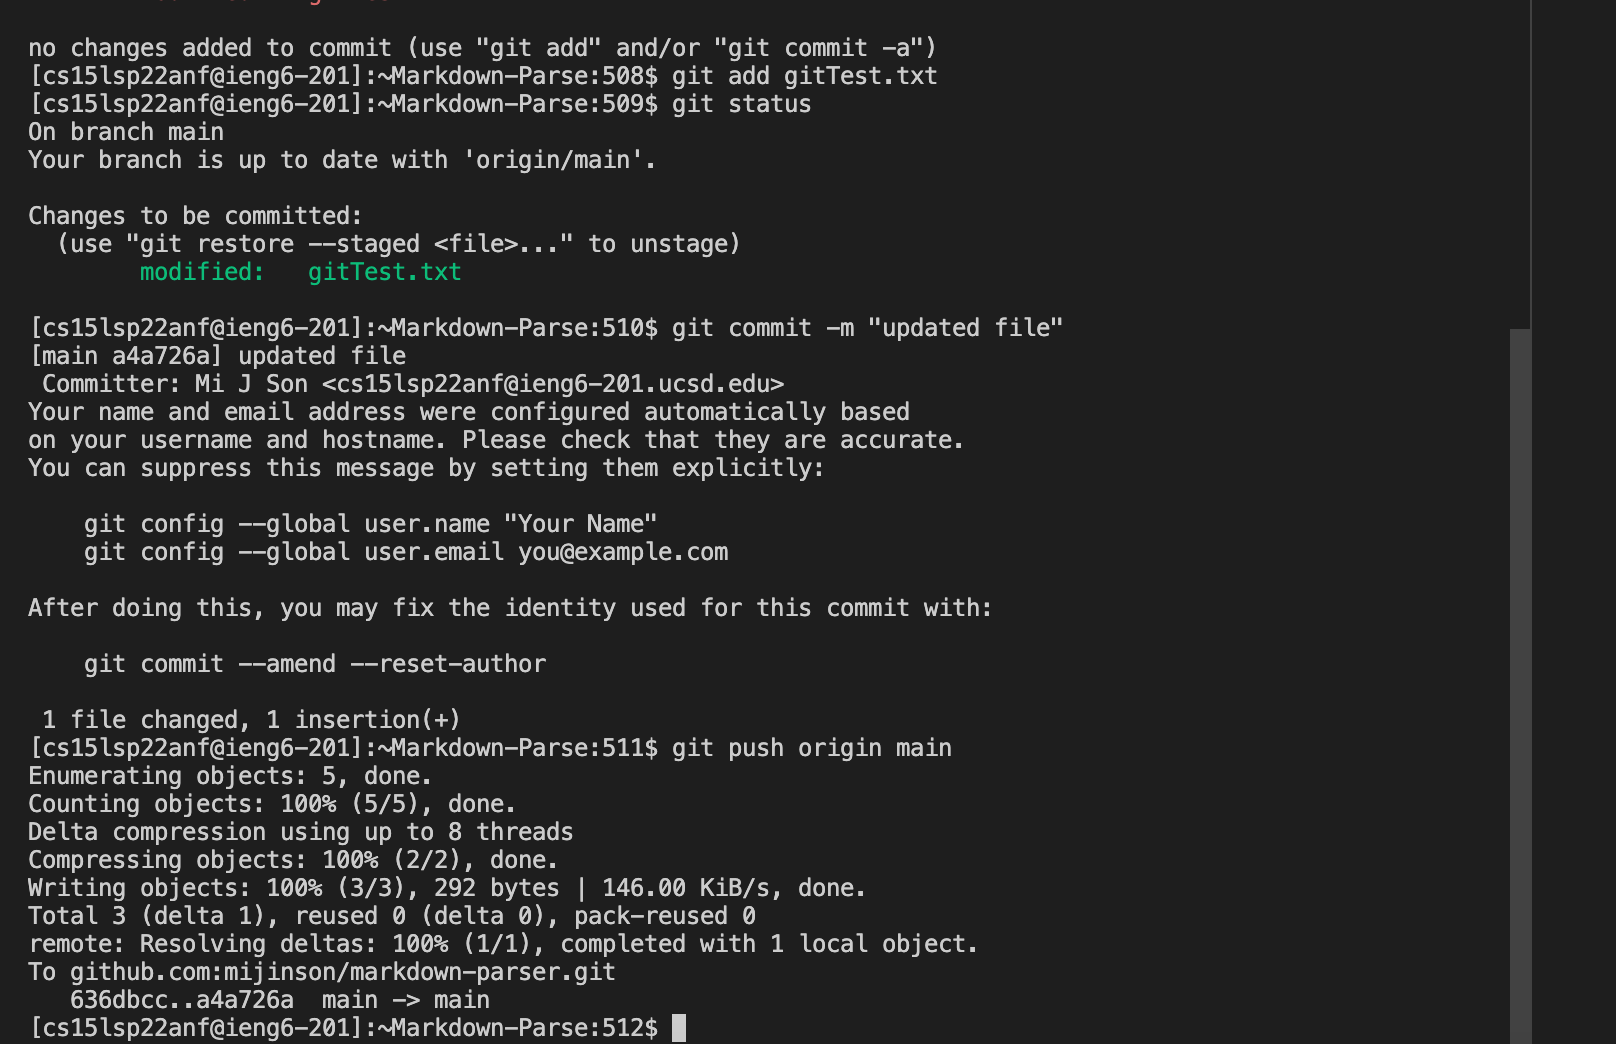
4) Use git add gitTest.txt to stage commit then git status to check that file is ready to commit
5) Use git commit -m "commit message" to commit changes
6) To push the changes to the repository on github use git push origin main
Refer to image below for visual representation of process. Additionally, here is the link to the resulting commit.
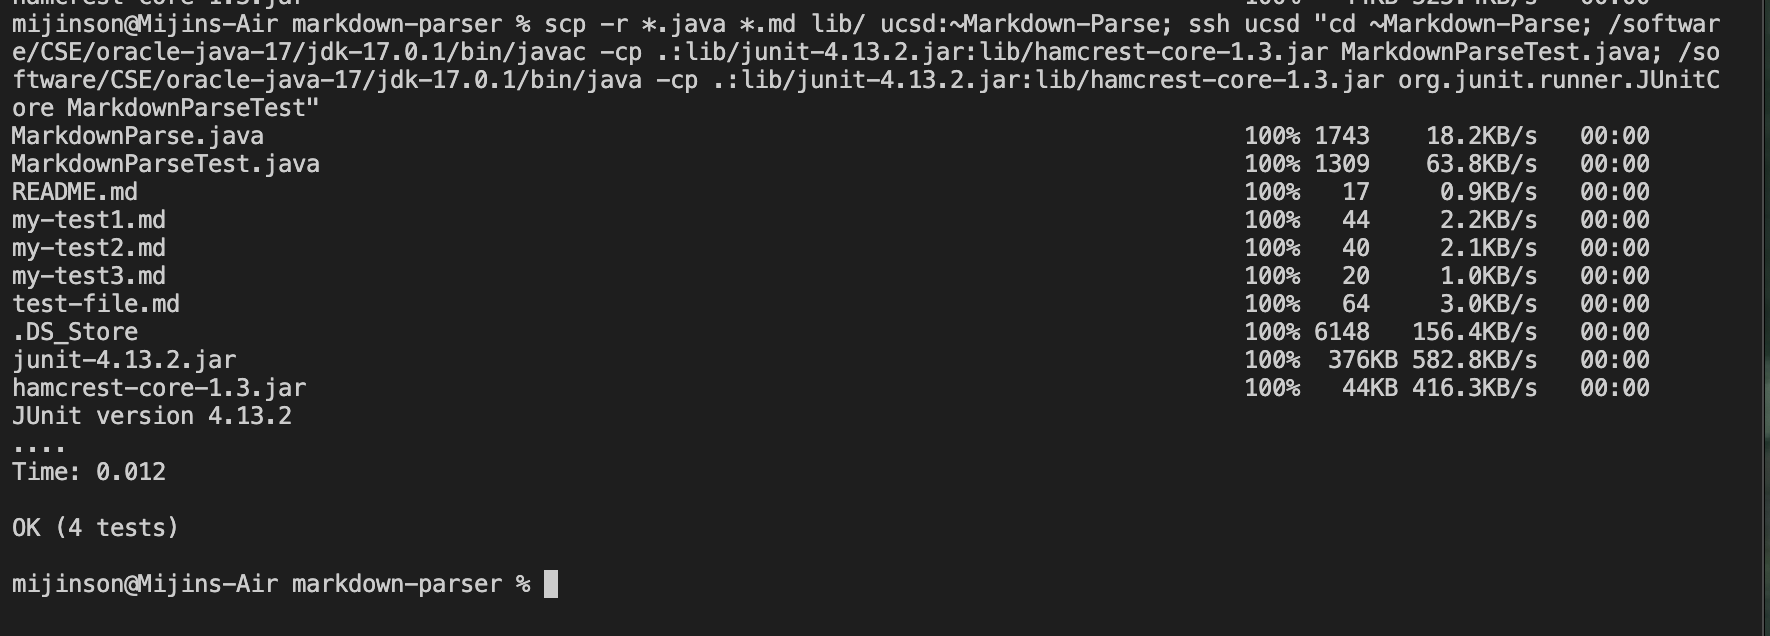
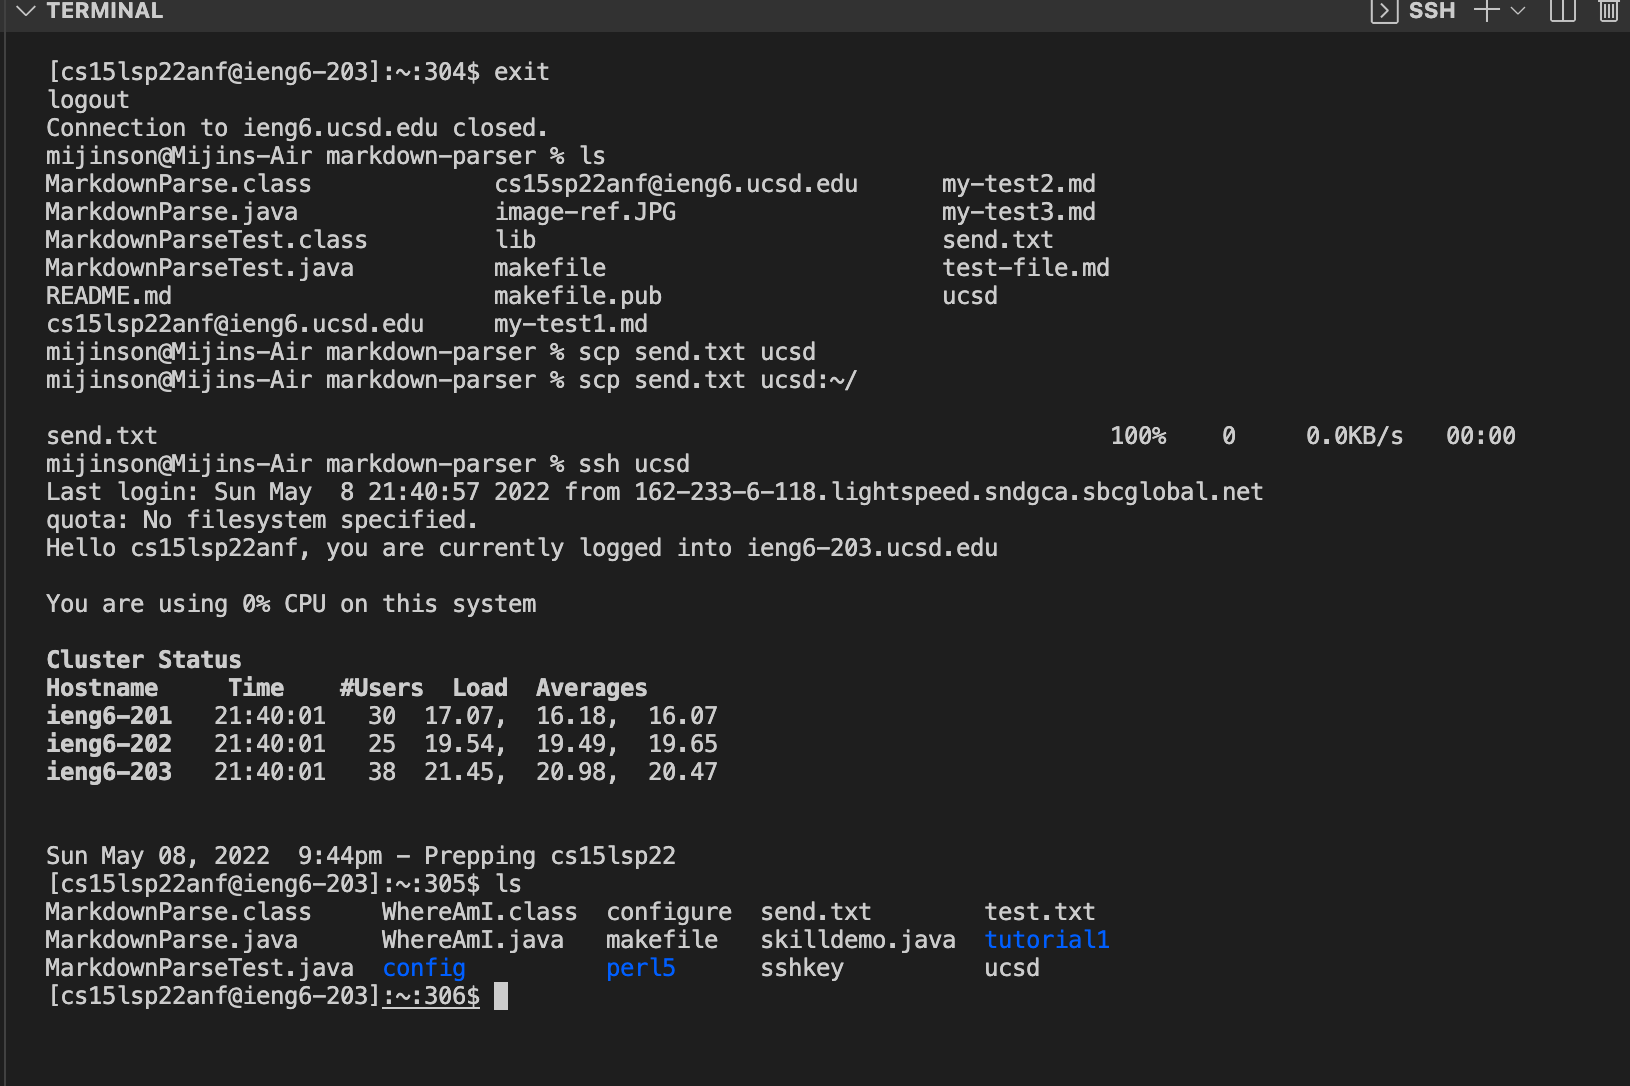
Copy whole directories with scp -r
one efficent way to copy whole directories and run tests on ieng6
To copy whole directories using scp recursively call the follwing line of code in the local machine:
scp -r *.java *.md lib/ ucsd.edu:~Markdown-Parse
The code above runs only specified types of files (all needed files for junit running are present) and excludes files like .git and etc. if want to copy ALL files use code below
scp -r . ucsd:~/~Markdown-Parse
Here is what it should look like:
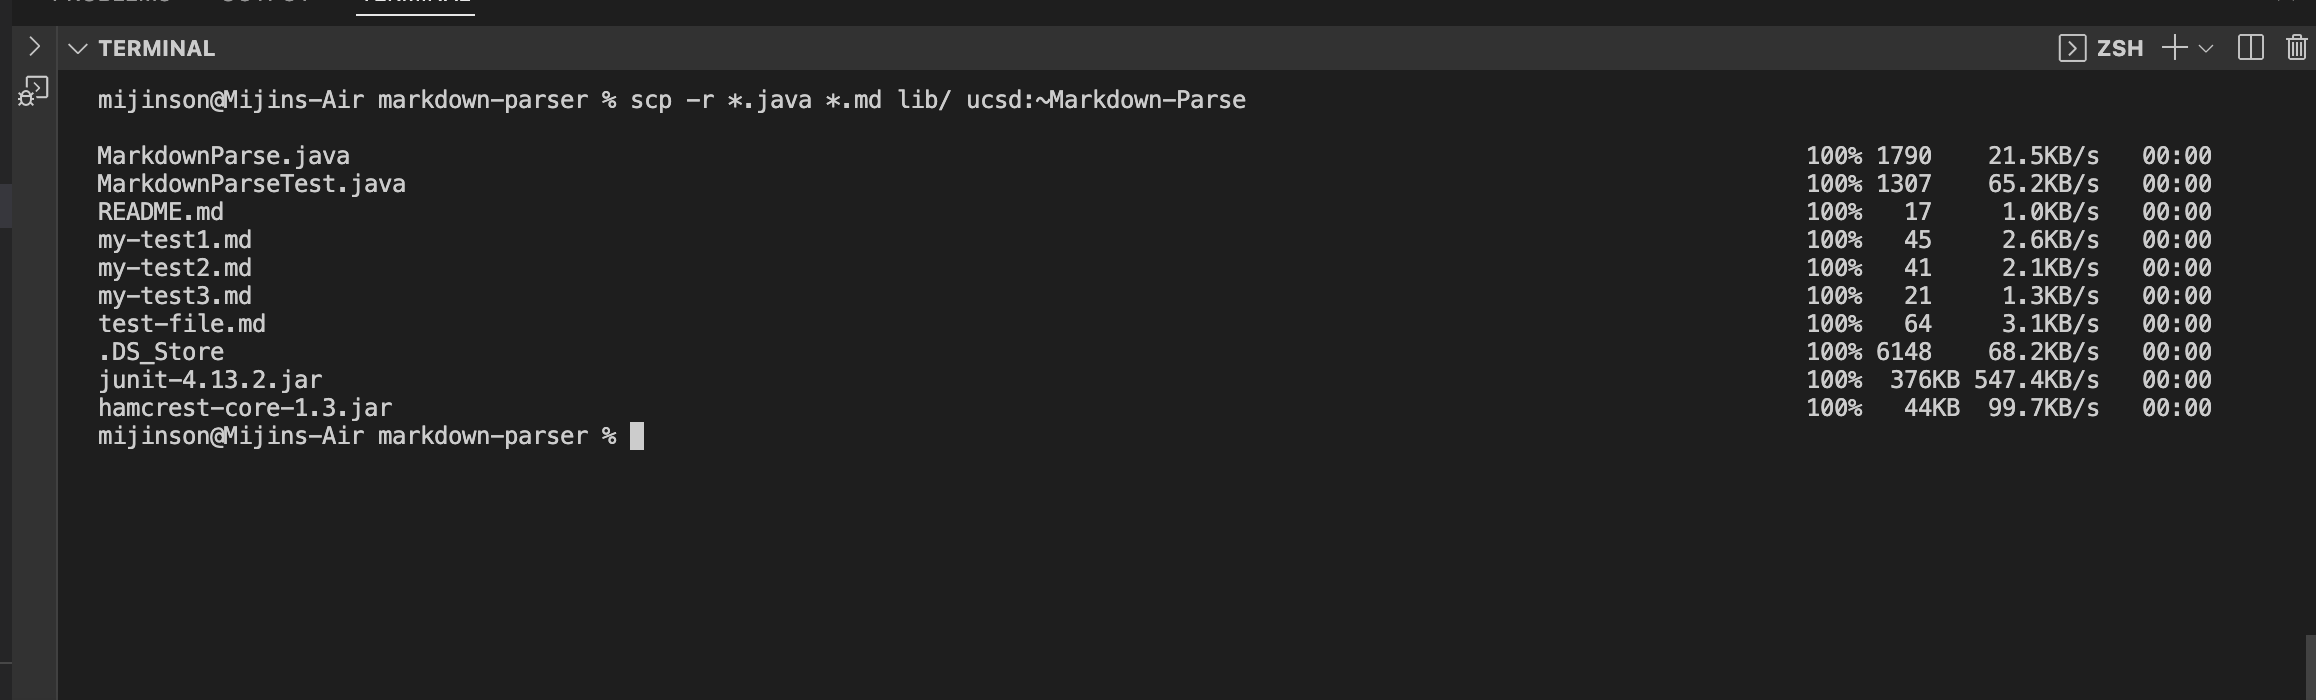
What the code does above is copy the entire directory ~Markdown-Parse from the local machine and copies it over to the ieng6 server. This allows acess to all files in the directory.
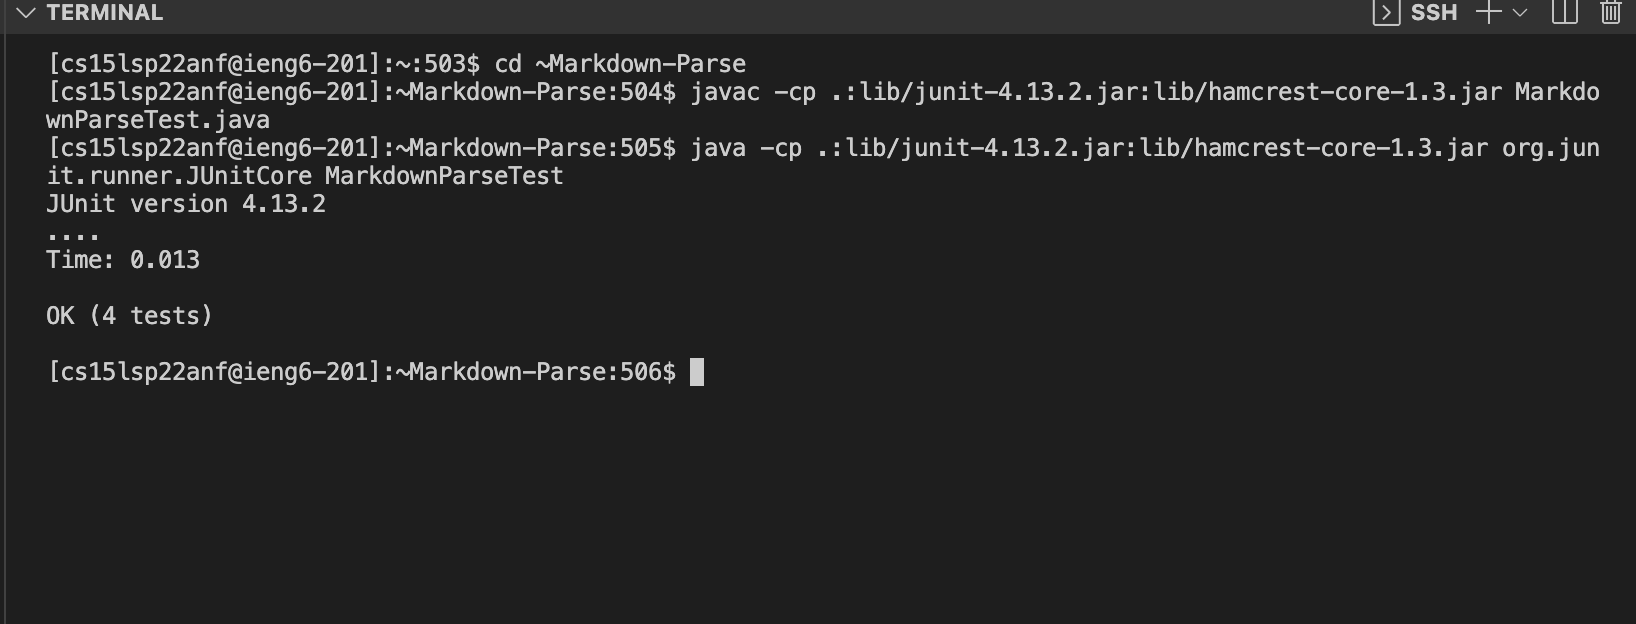
A semicolon ; can be used to run all commands in one line (copying directory, logging into server, running junit test on server).
Heres what running junit tests logged into server looks like.
Heres what running all commands in one line looks like.